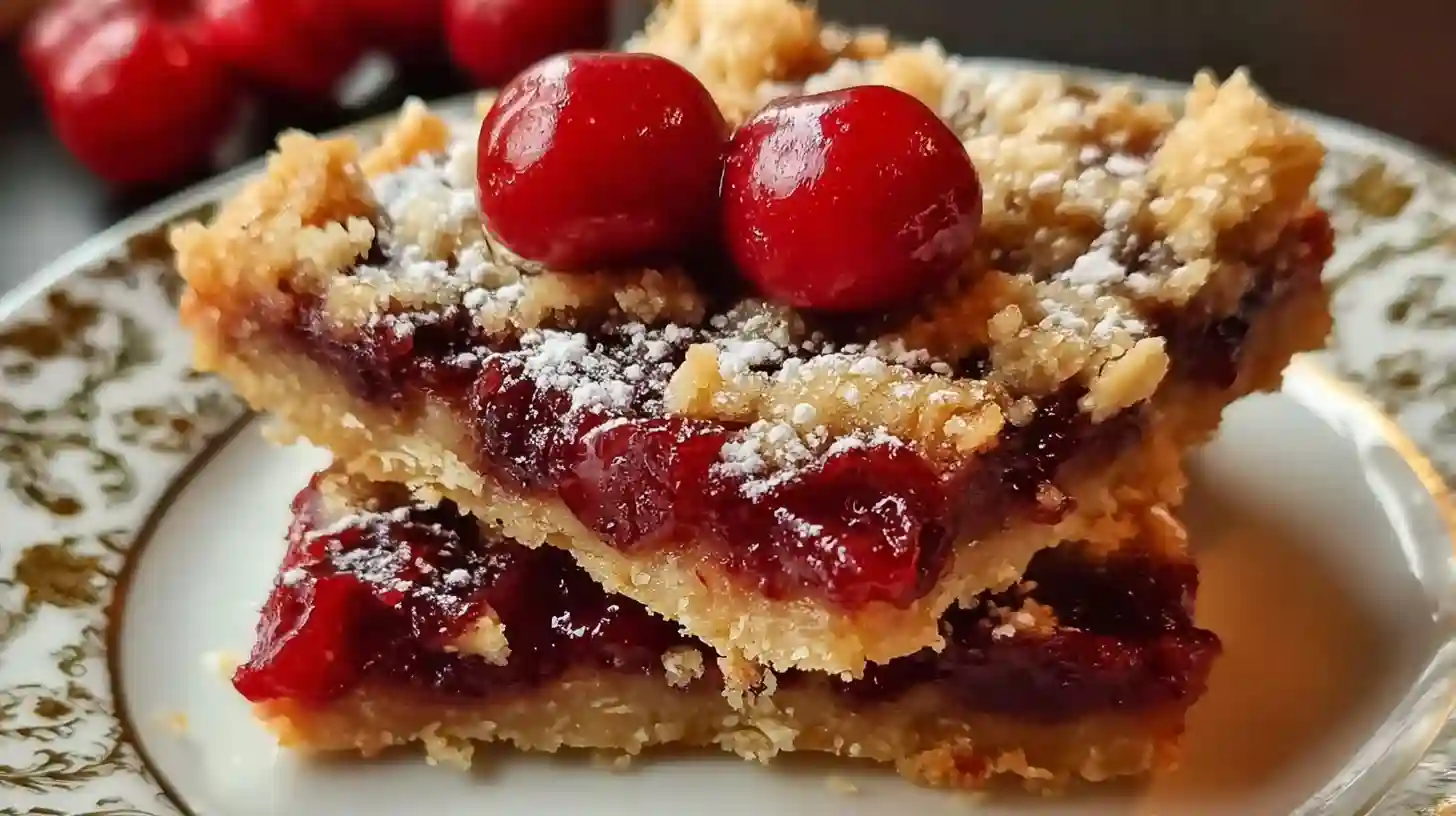
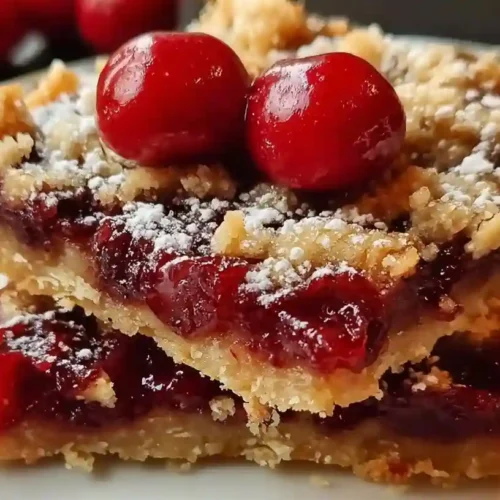
There is something about Cherry Pie Bars that just works every time. You get that classic cherry pie flavor, the buttery crumbly crust, the thick jammy filling, and you do not need to fuss with rolling dough or crimping edges. These bars come together in one baking pan and slice up cleanly, making them one of those recipes you reach for more often than you expect.
The texture is what really gets people. The base stays slightly crisp while the top crumble goes golden and soft at the same time. And the cherry filling in the middle stays thick and glossy without running all over. It is the kind of bar that looks a little impressive but takes almost no effort to pull off.
What You Need for This Recipe
The ingredient list for these easy cherry pie bars is short and mostly pantry staples. You will need two cans of cherry pie filling if you want to keep things simple, or you can use fresh pitted cherries cooked down with a bit of sugar and cornstarch for a more homemade cherry pie bars feel.
- 2 cups all-purpose flour
- 1 cup granulated sugar, divided
- 1/2 teaspoon baking powder
- 1/4 teaspoon salt
- 1 cup unsalted butter, cold and cubed
- 2 large eggs
- 1 teaspoon vanilla extract
- 1/4 teaspoon almond extract (optional but really good)
- 2 cans (21 oz each) cherry pie filling
- 1 tablespoon lemon juice
How to Make Cherry Pie Bars Step by Step
Preheat your oven to 350°F and grease a 9×13 inch baking pan. Line it with parchment paper if you want clean edges when slicing.
- Whisk together flour, 3/4 cup of the sugar, baking powder, and salt in a large bowl.
- Cut the cold butter into the flour mixture using a pastry cutter or your fingers until it resembles coarse crumbs.
- Add eggs and vanilla extract, then mix until a soft dough forms.
- Press about two-thirds of the dough evenly into the bottom of the prepared pan.
- Stir the cherry pie filling with lemon juice and almond extract, then spread it evenly over the dough base.
- Crumble the remaining dough over the top of the cherry layer – it does not need to be perfect, uneven pieces are fine.
- Sprinkle the remaining 1/4 cup sugar over the top.
- Bake for 45 to 50 minutes until the top is golden and the filling is bubbling slightly at the edges.
- Let cool completely before slicing, at least 1 hour at room temperature.

Ingredient Swaps That Actually Work
If you want easy sour cherry pie bars, swap sweet cherry filling for sour cherry and reduce added sugar slightly. For a dairy-free version, use cold coconut oil in place of butter – the texture changes a little but still holds together. Gluten-free flour blends work here too, just make sure to use one with xanthan gum already included. You can also use blueberry or strawberry pie filling with this same base dough if cherry is not your thing.
Pro Tips for the Best Results
Cold butter is non-negotiable for the right crumbly texture. If your kitchen is warm, pop the cubed butter in the freezer for 10 minutes before mixing. The almond extract in the filling is small but makes a noticeable difference – it deepens the cherry flavor in a way that is hard to explain until you try it. Also, do not skip the cooling time. Slicing too early leads to messy bars that fall apart. A full hour minimum, or even overnight in the fridge, gives you those clean defined layers.
When Something Goes Wrong
If the bottom crust comes out too soft or doughy, the most likely cause is that the dough layer was too thick. Press it thinner next time, no more than 1/4 inch. If the filling runs and makes the base soggy, your cherries may have had too much liquid – drain a tablespoon or two from the can before using. Crumble topping not browning? Your oven may run cool, so give it 5 extra minutes and check at the 50-minute mark.
Storing and Serving These Bars
These bars keep well at room temperature for up to 2 days covered loosely, or in the fridge for up to 5 days in an airtight container. For longer storage, freeze individual bars wrapped in plastic wrap and then placed in a zip bag – they freeze well for up to 2 months. Thaw overnight in the fridge or at room temperature for about an hour. Serve them plain, with a dusting of powdered sugar, or with a scoop of vanilla ice cream if you want something a little more indulgent.
FAQ
Can I use fresh cherries instead of canned filling?
Yes. Pit about 4 cups of fresh cherries, cook them with 1/2 cup sugar, 2 tablespoons cornstarch, and a splash of lemon juice over medium heat until thickened. Cool before adding to the bars.
Do Cherry Pie Bars need to be refrigerated?
They do not need refrigeration for the first two days if stored in a cool spot. After that, refrigerate them to keep the filling fresh and prevent any spoilage.
Can I make these bars ahead of time?
Absolutely. They actually slice better the next day after chilling overnight. Bake them the evening before and slice in the morning for the cleanest cuts.
Why is my crumble topping too dry or crumbly?
That usually means a little more butter is needed. Add one extra tablespoon and mix again until the dough just holds when you press it between your fingers.
Can I double this recipe for a larger crowd?
Yes, double everything and use a larger sheet pan, roughly 12×17 inches. Check at the 50-minute mark since larger pans can bake unevenly.
What makes this the best cherry pie bar recipe for beginners?
No rolling pin, no special tools, and no blind baking. You press the dough in with your hands, spread the filling, crumble the rest on top, and bake. Simple cherry pie bar baking at its most approachable.
Cherry Pie Bars
Equipment
- 9×13-inch baking pan
- Parchment paper
- Pastry cutter or fork
- Large mixing bowl
Ingredients
- 2 cups all-purpose flour
- 1 cup granulated sugar, divided 3/4 cup for dough, 1/4 cup for topping
- 1/2 tsp baking powder
- 1/4 tsp salt
- 1 cup unsalted butter, cold and cubed
- 2 large eggs
- 1 tsp vanilla extract
- 1/4 tsp almond extract optional but recommended
- 2 cans (21 oz each) cherry pie filling
- 1 tbsp lemon juice
Instructions
- Preheat oven to 350°F. Grease a 9×13 inch baking pan and line with parchment paper.
- Mix flour, 3/4 cup sugar, baking powder, and salt in a large bowl.
- Cut cold butter into the flour mixture until coarse crumbs form.
- Add eggs and vanilla extract, then mix until a soft dough comes together.
- Press two-thirds of the dough evenly into the bottom of the prepared pan.
- Stir cherry pie filling with lemon juice and almond extract, then spread evenly over the dough base.
- Crumble the remaining dough over the cherry layer, then sprinkle with remaining 1/4 cup sugar.
- Bake for 45 to 50 minutes until the top is golden and filling is bubbling at the edges.
- Cool completely for at least 1 hour before slicing into bars.
Notes
- Use cold butter straight from the fridge for the best crumbly texture.
- Do not skip cooling time – bars need at least 1 hour to set before slicing.
- Sour cherry filling can replace sweet cherry filling for a tangier result.
- Bars freeze well for up to 2 months wrapped individually.