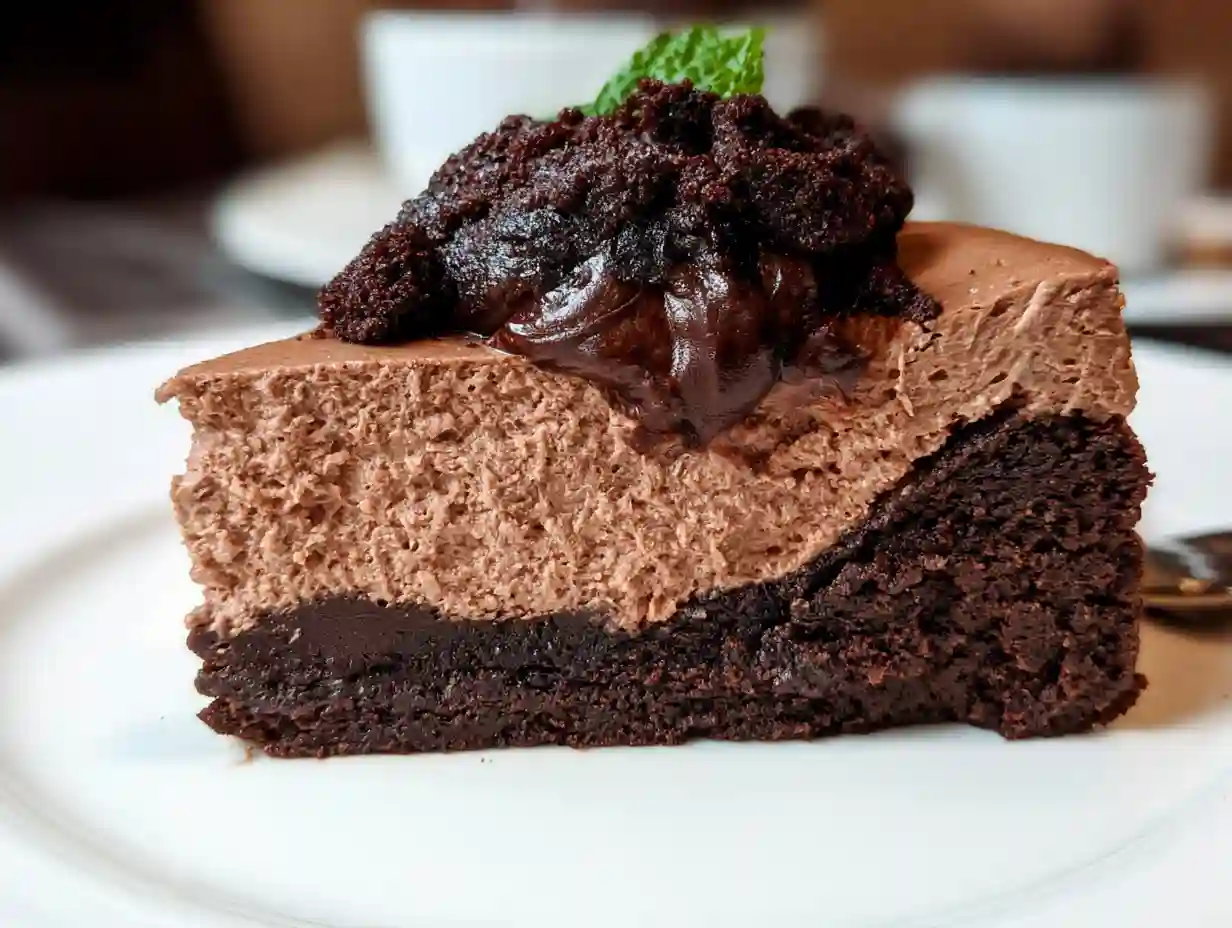
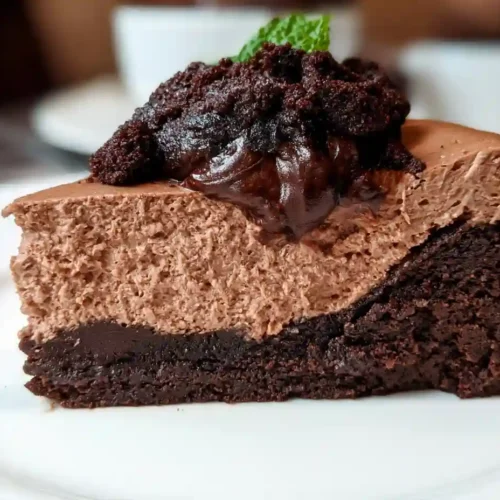
There’s something magical about desserts that combine two favorites into one unforgettable treat. This Chocolate Brownie Cheesecake delivers exactly that kind of joy. Picture a dense, fudgy brownie base topped with silky smooth chocolate cheesecake that melts on your tongue. It’s the kind of dessert that makes people stop mid-bite and close their eyes.
I first made this for my sister’s birthday last spring, and honestly, it disappeared faster than I could say “happy birthday.” Everyone wanted the recipe. The beauty of this Chocolate Brownie Dessert Ideas collection is that you get rich chocolate flavor in two different textures. One bite gives you that satisfying brownie chew, then the next brings creamy cheesecake bliss.
What really sets this apart from other Chocolate Cheesecakes is the no bake approach for the top layer. You bake the brownie base until it’s just set, then let it cool completely before adding the cheesecake filling. This means less time hovering over the oven and more time enjoying the results. Perfect for Chocolate Birthday Desserts when you want something impressive but manageable.
Why This No Bake Brownie Cheesecake Works Every Time
The secret lies in getting your temperatures right. Your brownie base needs to cool down completely before the cheesecake filling goes on top. If it’s even slightly warm, you’ll end up with a soupy mess instead of those beautiful distinct layers. I learned this the hard way during one of my early attempts at Springform Pan Desserts.
Another game-changer is using room temperature cream cheese. Cold cream cheese creates lumps that no amount of mixing will fix. Take it out of the fridge at least two hours before you start, or microwave it in 15-second bursts until it yields gently to pressure. This simple step makes your Chocolate Cheesecake Birthday Cake filling incredibly smooth.
The brownie base here is intentionally dense and fudgy, not cakey. You want it sturdy enough to support the cheesecake layer without crumbling when you slice. Think of it as the foundation for your 7 Inch Cheesecake Recipe masterpiece. A toothpick should come out with a few moist crumbs attached, not completely clean.
Ingredients for Perfect Chocolate Pan Desserts
Let’s talk about what goes into making this Chocolate Brownie Cheesecake so irresistible. Quality matters here, especially with the chocolate. Use good cocoa powder and real butter for the best flavor.
- 1 cup all-purpose flour
- 3/4 cup unsweetened cocoa powder, divided
- 1 teaspoon baking powder
- 1/4 teaspoon salt
- 1/2 cup unsalted butter, melted
- 1 cup granulated sugar
- 2 large eggs, room temperature
- 1 teaspoon vanilla extract
- 16 ounces cream cheese, room temperature
- 1/2 cup sour cream
- 3/4 cup powdered sugar
- 8 ounces semi-sweet chocolate, melted and cooled
- 1 teaspoon espresso powder (optional, enhances chocolate flavor)
Now let’s talk about the technique that elevates this from good to absolutely stunning. When you’re making the cheesecake filling, don’t overmix once you add the eggs. Just blend until combined. Overmixing incorporates too much air, which can cause cracks during chilling.
How To Make No Bake Brownie Cheesecake Step by Step
Start by preheating your oven to 350°F and greasing a 9-inch springform pan. Line the bottom with parchment paper for easy removal later. This is crucial for any Springform Pan Desserts to prevent sticking disasters.
For the brownie base, whisk together flour, 1/2 cup cocoa powder, baking powder, and salt. In another bowl, mix melted butter, sugar, eggs, and vanilla. Combine wet and dry ingredients until just mixed. Pour into your prepared pan and bake for 25-30 minutes until the center is nearly set but still slightly jiggly.
Let the brownie cool completely in the pan on a wire rack. This patience pays off with clean, beautiful layers in your final Chocolate Brownie Dessert Ideas presentation. Meanwhile, melt your chocolate and let it cool to room temperature.
Beat the cream cheese until smooth and fluffy, about 3 minutes. Add powdered sugar, remaining cocoa powder, sour cream, and espresso powder. Mix well. Pour in the cooled melted chocolate and blend until uniform. Pour this luscious filling over the cooled brownie base, smoothing the top with an offset spatula.

Pro Tips for Chocolate Cheesecakes Success
- Use a kitchen scale for precise measurements, especially with flour and cocoa powder
- Wrap your springform pan bottom with foil if using a water bath method
- Run a thin knife around the edge before chilling to prevent cracking
- Chill for at least 6 hours, preferably overnight for best slicing
- Use a hot knife dipped in water for clean cuts
Variations on This 7 Inch Cheesecake Recipe
Love peanut butter? Swirl in some peanut butter cups or add a layer of peanut butter cheesecake on top of the chocolate. For mint chocolate fans, add 1/2 teaspoon mint extract to the filling and garnish with crushed peppermint candies. These tweaks make your Chocolate Birthday Desserts feel custom and special.
You can also make this as a 7 Inch Cheesecake Recipe for smaller gatherings. Just halve all the ingredients and use a 7-inch springform pan. The baking time for the brownie base might need a few minutes less, so start checking at 20 minutes.
Troubleshooting Tips
- If your cheesecake filling seems too thin, add 1 tablespoon of cornstarch dissolved in cold water
- Cracks on top? Cover with whipped cream or chocolate ganache, nobody will know
- Brownie base too hard? Reduce baking time by 5 minutes next round
- Filling not setting? Make sure your cream cheese was truly room temperature
Ingredient Substitutions for Chocolate Pan Desserts
Need to go dairy-free? Use vegan cream cheese and coconut cream instead of sour cream. The texture will be slightly different but still delicious. For gluten-free Chocolate Brownie Cheesecake, swap in a 1:1 gluten-free flour blend and verify your cocoa powder is certified gluten-free.
Out of sour cream? Greek yogurt works beautifully here. It adds the same tang and creaminess. Just make sure it’s full-fat for best results in your No Bake Brownie Cheesecake.
Storage and Serving Suggestions
Keep this Chocolate Brownie Cheesecake covered in the refrigerator for up to 5 days. It actually tastes better on day two as the flavors meld together. For longer storage, freeze individual slices wrapped in plastic wrap, then foil, for up to 2 months.
Serve with fresh berries, a dollop of whipped cream, or a drizzle of chocolate ganache. A scoop of vanilla ice cream alongside creates the ultimate Chocolate Cheesecake Birthday Cake experience. Pair with coffee or a glass of cold milk for pure indulgence.
Frequently Asked Questions
Can I make this Chocolate Brownie Cheesecake ahead of time?
Absolutely! This dessert benefits from being made a day in advance. The flavors deepen and the texture becomes even creamier after 24 hours in the fridge.
Why did my No Bake Brownie Cheesecake crack on top?
Cracks usually happen from overmixing or rapid temperature changes. Mix just until ingredients are combined and let the brownie base cool completely before adding filling.
Can I use a different pan size for this 7 Inch Cheesecake Recipe?
Yes, but adjust ingredient quantities accordingly. A 9-inch pan makes a taller cheesecake, while an 8-inch gives you more layers. Baking times may vary slightly.
How do I get clean slices of my Chocolate Cheesecakes?
Use a sharp knife dipped in hot water, wiping clean between each cut. This prevents the filling from sticking and gives you those beautiful Instagram-worthy slices.
Is this Chocolate Brownie Dessert Ideas recipe freezer-friendly?
Yes! Wrap individual slices tightly and freeze for up to 2 months. Thaw in the refrigerator overnight before serving for best texture.
Chocolate Brownie Cheesecake

Equipment
- 9-inch springform pan
- Electric mixer
- Mixing bowls
- Wire rack
- Offset spatula
Ingredients
- 1 cup all-purpose flour
- 3/4 cup unsweetened cocoa powder divided
- 1 teaspoon baking powder
- 1/4 teaspoon salt
- 1/2 cup unsalted butter melted
- 1 cup granulated sugar
- 2 large eggs room temperature
- 1 teaspoon vanilla extract
- 16 ounces cream cheese room temperature
- 1/2 cup sour cream
- 3/4 cup powdered sugar
- 8 ounces semi-sweet chocolate melted and cooled
- 1 teaspoon espresso powder optional
Instructions
- Preheat oven to 350°F. Grease a 9-inch springform pan and line bottom with parchment paper.
- Whisk together flour, 1/2 cup cocoa powder, baking powder, and salt in a medium bowl.
- In another bowl, mix melted butter, granulated sugar, eggs, and vanilla until well combined.
- Combine wet and dry ingredients until just mixed. Pour into prepared pan and spread evenly.
- Bake brownie base for 25-30 minutes until center is nearly set but slightly jiggly. Cool completely on wire rack.
- Melt chocolate and let cool to room temperature. Beat cream cheese until smooth and fluffy, about 3 minutes.
- Add powdered sugar, remaining cocoa powder, sour cream, and espresso powder. Mix until well combined.
- Pour in cooled melted chocolate and blend until uniform. Pour filling over cooled brownie base.
- Smooth top with offset spatula. Refrigerate for at least 6 hours or overnight before serving.
Notes
- Use room temperature ingredients for smoothest filling
- Chill overnight for best slicing results
- Use hot knife for clean cuts
- Store covered in refrigerator for up to 5 days