
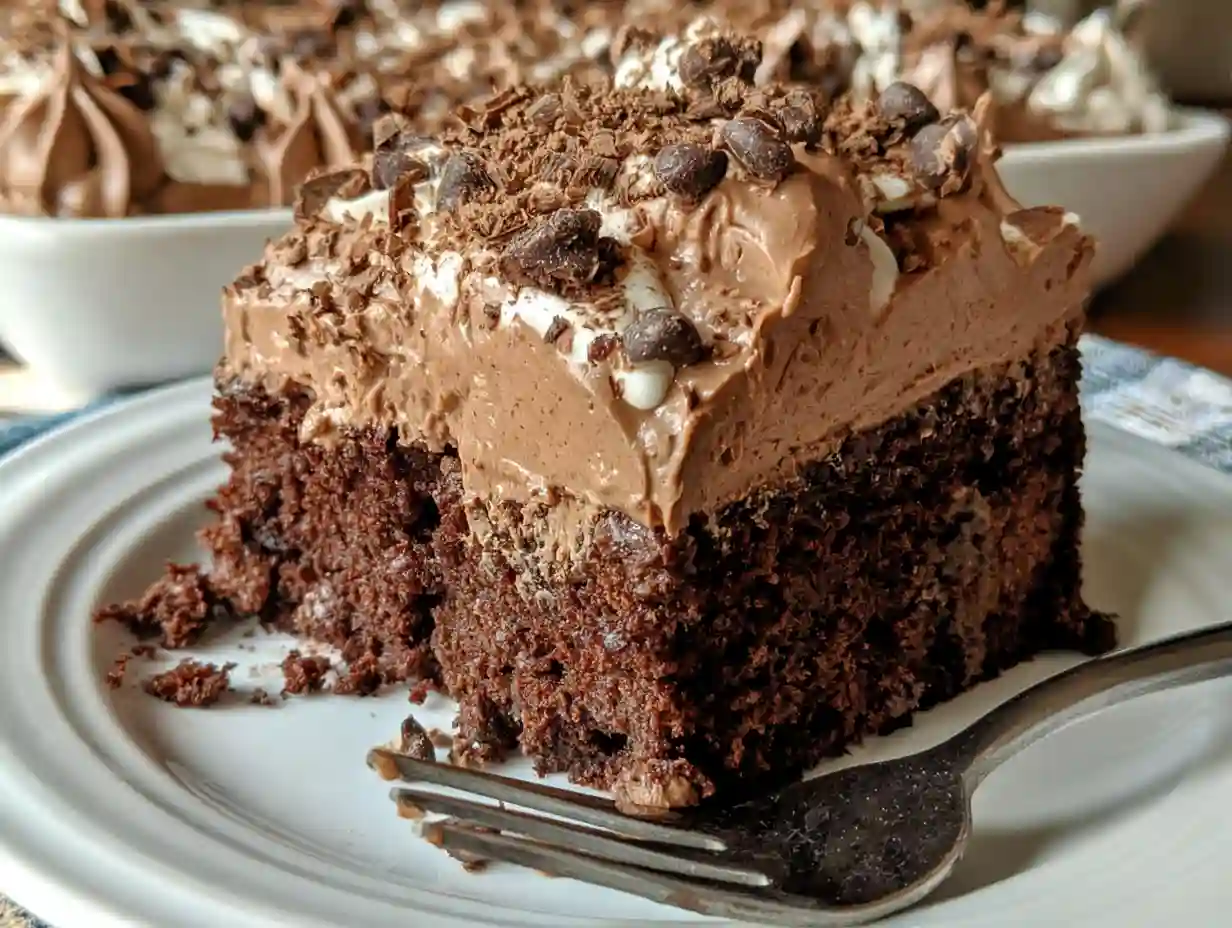
There’s something magical about a cake that stays moist for days. This Chocolate Poke Cake recipe delivers exactly that – a tender, rich chocolate cake soaked through with sweet chocolate filling that makes every bite incredibly decadent. I first made this for my nephew’s birthday last summer, and now it’s the only cake he’ll accept for special occasions.
The beauty of this easy dessert lies in its simplicity. You start with a reliable chocolate cake base, poke holes while it’s still warm, then pour over a mixture that seeps into every corner. The result is a Chocolate Poke Cake that’s impossibly moist with intense chocolate flavor throughout. Whether you’re looking for Chocolate Poke Cake Recipes Easy enough for weeknight desserts or something special for gatherings, this recipe hits all the marks.
Why This Chocolate Poke Cake Works
The secret to the best Chocolate Poke Cake is timing. You need to poke those holes while the cake is still warm from the oven. This allows the filling to penetrate deeply rather than just sitting on top. I’ve tested this with Hershey’s Perfectly Chocolate Cake as a base and found it creates the perfect texture – dense enough to hold up to the soaking but light enough to feel indulgent.
Many people ask about Chocolate Cake Or Chocolate Frosting for poke cakes. Here’s the thing – you need both for maximum impact. The cake provides the structure and base chocolate flavor, while the filling and frosting add layers of richness. This Decadent Chocolate Poke Cake uses sweetened condensed milk mixed with melted chocolate bars for the soaking liquid, creating pockets of fudgy goodness throughout.
Ingredients for Best Chocolate Poke Cake
You’ll need simple pantry staples for this recipe. The ingredient list looks long, but most items are chocolate variations that build complexity. This isn’t your average Poke Chocolate Cake – we’re going for restaurant-quality results with home kitchen ease.
- 1 box (15.25 oz) chocolate cake mix, plus eggs, oil, and water called for on box
- 1 can (14 oz) sweetened condensed milk
- 3 milk chocolate bars (1.55 oz each), broken into pieces
- 1 cup heavy whipping cream, cold
- 1/2 cup powdered sugar
- 1/3 cup unsweetened cocoa powder
- 1 teaspoon vanilla extract
- 1/2 cup chocolate syrup for drizzling
- 1/2 cup mini chocolate chips for garnish
For the cake base, you can use any quality chocolate cake mix. I prefer Devil’s Food varieties for deeper color and richer taste. The sweetened condensed milk is non-negotiable – it’s what creates that signature sticky-sweet soaking liquid that defines great Poke Cake Recipes Chocolate style.
Step-by-Step Instructions
Start by preheating your oven to 350°F and greasing a 9×13 inch baking pan. Mix the cake batter according to package directions – don’t overmix or your cake will be tough. Pour into the prepared pan and bake until a toothpick inserted comes out with just a few moist crumbs, about 25-30 minutes.
Here’s where the magic happens. Remove the cake from the oven and immediately grab the handle of a wooden spoon. Poke holes all over the surface, spacing them about an inch apart. Go deep but don’t pierce through the bottom. The warmth helps the filling absorb properly.
In a microwave-safe bowl, combine the sweetened condensed milk and broken chocolate bars. Heat in 30-second bursts, stirring between each, until completely smooth. Pour this mixture over the warm cake, using a spatula to guide it into the holes. Let it cool on the counter for an hour, then refrigerate for at least 2 hours.

Pro Tips for Perfect Results
Timing matters more than you’d think. If the cake cools too much before you add the filling, it won’t absorb as well. I set a timer when the cake goes in the oven so I’m ready with the condensed milk mixture the moment it comes out.
For the whipped topping, chill your mixing bowl in the freezer for 15 minutes first. Cold equipment helps the cream whip faster and hold stiffer peaks. Add the cocoa powder and powdered sugar gradually to avoid lumps.
Variations to Try
This recipe is wonderfully flexible. Swap the milk chocolate for dark chocolate bars if you prefer less sweetness. Some readers love adding a layer of chocolate pudding between the cake and whipped cream for extra richness – that approach creates something closer to Death by Chocolate territory.
For holiday versions, try peppermint extract in the whipped cream during winter months. Summer gatherings love this topped with fresh strawberries or raspberries for a chocolate-berry combination that feels lighter.
Troubleshooting Common Issues
If your filling pools on top instead of soaking in, your holes weren’t deep enough or the cake cooled too much. Next time, work faster and poke more aggressively. You can also gently press the filling into holes with a spatula.
Soggy bottom usually means you pierced all the way through the cake. The filling should stay within the cake structure, not leak underneath. Stop poking when you feel resistance from the pan.
Ingredient Substitutions
Out of heavy cream? Use 8 oz cream cheese softened and beaten with 1/4 cup milk and the powdered sugar for a tangy frosting alternative. For dairy-free versions, coconut cream whips beautifully – just chill the can overnight and use the thick part that separates on top.
No sweetened condensed milk? Mix 3/4 cup sugar with 3/4 cup warm water until dissolved, then add 1/4 cup dry milk powder. It won’t be identical but works in a pinch for the soaking liquid.
Storage and Serving Suggestions
This cake keeps beautifully covered in the refrigerator for up to 5 days. The flavors actually improve after day two as everything melds together. I’ve made it three days ahead for parties with perfect results.
Serve chilled for the best texture. The cold makes the frosting light and the cake refreshingly rich. Pair with strong coffee or a glass of cold milk to balance the sweetness. For special occasions, add a dusting of cocoa powder and chocolate curls on top just before serving.
Frequently Asked Questions
Can I make this ahead of time?
Yes, this cake actually benefits from being made 1-2 days in advance. The flavors deepen and the texture becomes even more moist.
Do I need to refrigerate Chocolate Poke Cake?
Absolutely. The filling and whipped cream topping require refrigeration. Keep covered for up to 5 days.
Can I freeze this cake?
Not recommended. The texture changes when frozen due to the high moisture content from the filling.
What size pan should I use?
A 9×13 inch pan is ideal. Smaller pans will make the cake too thick and prevent proper soaking.
Can I use homemade cake instead of mix?
Definitely. Use your favorite chocolate cake recipe baked in a 9×13 pan. Hershey’s Perfectly Chocolate Cake works wonderfully.
How do I get clean slices?
Use a sharp knife dipped in hot water and wiped dry between cuts. The cold cake and creamy topping slice cleanly this way.
Can I use different chocolate for the filling?
Yes, experiment with dark chocolate, white chocolate, or even peanut butter chips for different flavor profiles.
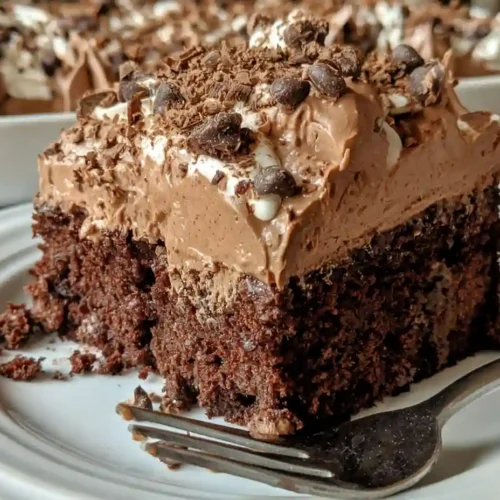
Chocolate Poke Cake

Equipment
- 9×13-inch baking pan
- Mixing bowls
- Hand mixer or stand mixer
- wooden spoon handle
- Microwave-safe bowl
- Spatula
Ingredients
- 1 box (15.25 oz) chocolate cake mix plus eggs, oil, and water called for on box
- 1 can (14 oz) sweetened condensed milk
- 3 bars (1.55 oz each) milk chocolate bars broken into pieces
- 1 cup heavy whipping cream cold
- 1/2 cup powdered sugar
- 1/3 cup unsweetened cocoa powder
- 1 teaspoon vanilla extract
- 1/2 cup chocolate syrup for drizzling
- 1/2 cup mini chocolate chips for garnish
Instructions
- Preheat oven to 350°F. Grease a 9×13 inch baking pan. Prepare cake batter according to package directions and pour into prepared pan.
- Bake for 25-30 minutes until toothpick inserted comes out with few moist crumbs. Remove from oven.
- Immediately poke holes all over cake surface using wooden spoon handle, spacing about 1 inch apart. Don’t pierce through bottom.
- In microwave-safe bowl, combine sweetened condensed milk and chocolate bars. Microwave 30 seconds, stir, then 15 seconds more until smooth.
- Pour chocolate mixture over warm cake. Use spatula to guide filling into holes. Cool on counter 1 hour.
- Refrigerate cake 2 hours. Meanwhile, chill mixing bowl in freezer.
- Whip cold heavy cream until thickening. Add powdered sugar, cocoa powder, and vanilla. Beat until stiff peaks form.
- Spread chocolate whipped cream over chilled cake. Drizzle with chocolate syrup and sprinkle mini chocolate chips on top.
- Refrigerate until ready to serve. Slice with sharp knife dipped in hot water for clean cuts.
Notes
- Cake can be made up to 2 days ahead – flavors improve with time
- Keep refrigerated and covered for up to 5 days
- For deeper chocolate flavor, use dark chocolate bars instead of milk chocolate
- Freezing not recommended due to high moisture content
- Serve chilled for best texture